 Mattevia
Why Does My PNG Still Have a Background?
Find out whether your PNG is opaque, displayed on white, or saved with a checkerboard. Test the file, fix the right problem, and export a genuinely transparent image.
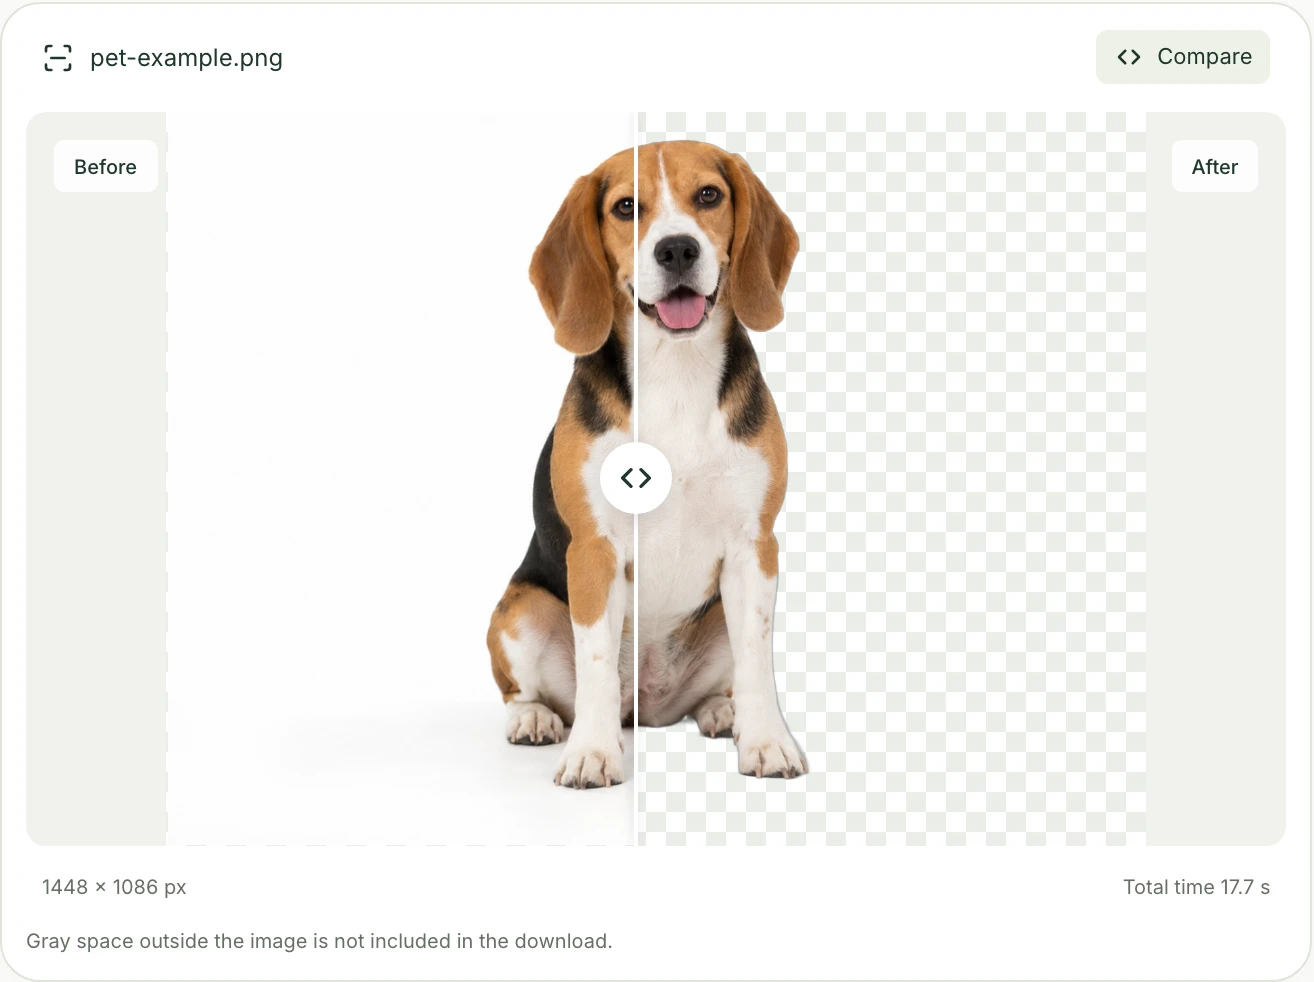
You download a PNG, open it, and see a white rectangle around the subject. Did the download fail? Is the background still there? Should you run the image through a background remover again?
Test the downloaded file over a colored background first. Some viewers put white behind transparent pixels; other files really do contain an opaque white background. The fix depends on which one you have. Reprocessing an already transparent image is unnecessary and can change details you wanted to keep.
A quick test that tells you more than the filename
Open an editor you already use that supports layers and PNG transparency.
- Create a blank document and add a large, brightly colored rectangle.
- Import the actual downloaded PNG above it. Do not paste a screenshot of the preview.
- Move the image so part of its rectangular area sits over the colored shape.
- Look around the subject. If the color shows through, those areas are transparent.
- Change the rectangle to a second, contrasting color and inspect again.
- Check that you are looking at the PNG layer, not a separate white page, shape, or frame behind it.
If both colors show through cleanly, keep that PNG. A white thumbnail or white viewing window did not prove there was a white background in the file. If an opaque rectangle remains, move on to the diagnosis below.
Match what you see to the next step
| What you see | Likely explanation | What to do |
|---|---|---|
White in the viewer; the test color shows through in the editor | The viewer supplies the white backdrop | Keep the file. Check how your destination displays it. |
A solid white rectangle covers both test colors | White pixels or an opaque background layer are present | Return to the source project or export settings. Remove or hide the background before exporting. |
Gray-and-white squares move with the image and cover the test color | The checkerboard is part of the picture | Get the original transparent asset, not the preview or screenshot. |
Most of the background is gone, but a light or dark rim remains | Residual background color or an imperfect edge | Inspect against two colors; refine the edge rather than changing the extension. |
The PNG works in the editor but becomes opaque after upload elsewhere | The receiving workflow may flatten or convert it | Check that destination’s file handling and download its final version to test. |
These are diagnostic clues, not guarantees about a particular app. If a file behaves differently in two tools, compare the same file in both before replacing it.
PNG supports transparency; it does not require it
PNG can represent transparent, partly transparent, and opaque pixels. It can also contain an entirely opaque photograph. The W3C PNG specification defines optional transparency information; saving a file as PNG does not automatically remove any part of the picture.
Think of transparency as an instruction about how much of the layer underneath should show through. An opaque white pixel is still a pixel of the image. It does not become empty just because the image is a PNG.
That explains three common surprises.
Converting JPG to PNG keeps the background
A normal JPG does not store transparency. Converting it to PNG preserves the visible photograph, including its background, unless an editing step removes that background. Merely renaming photo.jpg to photo.png does not even convert the file’s encoding. MDN’s image format guide describes the formats and their transparency support.
If the original photo really needs a cutout, you can use Mattevia’s transparent background tool. For a logo or illustration that already exists in an editable source file, exporting from that source will often preserve the intended shapes more faithfully than trying to extract them from a flattened picture.
A PNG export can include a solid background
Selecting PNG controls the file format. Selecting a white or colored background controls what gets drawn behind the subject. A PNG exported with white selected is a valid PNG with an opaque white background.
In a layered editor, the same thing happens if a white background layer is still visible during export. Return to the project, inspect which layers are included, and export the transparent version. You do not need to remove the background from the flattened copy if you still have the original cutout or layered file.
A checkerboard can be real pixels
An editor’s checkerboard usually stands for transparency. A screenshot of that editor, however, records the displayed squares along with the subject. Some downloaded preview images also contain a drawn checkerboard.
Place the file over a bright color. If the squares remain and cover the color, they belong to the image. Go back to the source and download the actual transparent asset. If only the flattened preview exists, background removal may help, but fine edges and translucent areas may need manual repair. Do not expect a format conversion to separate the subject from a pattern baked into the pixels.
Export a transparent version in Mattevia
If you have a photo that still contains its original background, open the transparent background tool, upload it, and wait for processing. Review the cutout before downloading.
Choose the Transparent swatch, then select PNG under File format. Choose Original size to retain the processed image’s proportions, or a square canvas when your layout calls for it. Finally, use Download image.
The background and format are separate choices. If you select white and keep PNG, you will get a white-background PNG. That can be useful for a finished listing image, but it is a different deliverable from a transparent cutout.
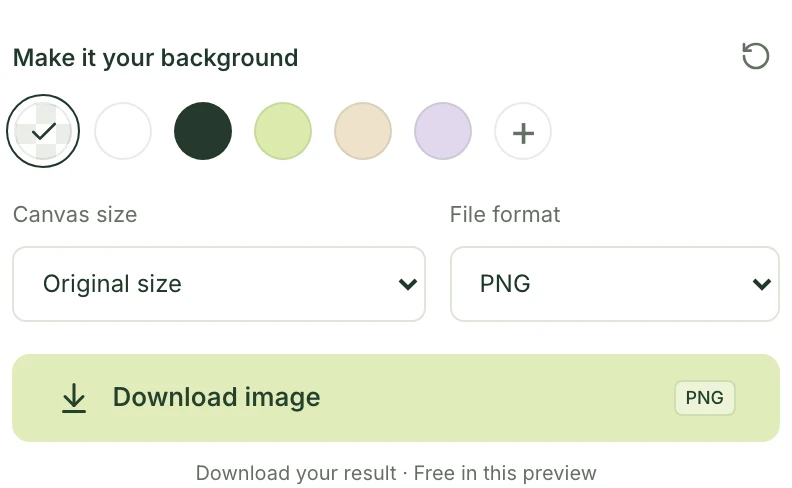
The selected checkerboard swatch sets a transparent background. PNG preserves it in the downloaded file.
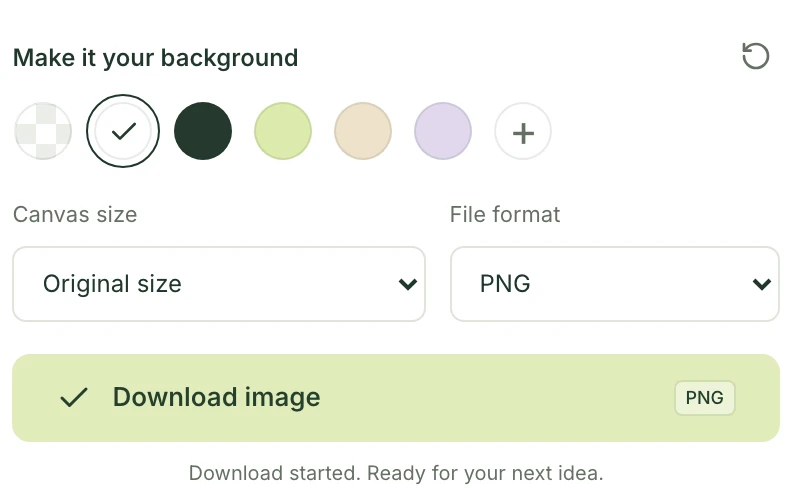
The format is still PNG, but white is now part of the exported image.
You can switch the background on the completed result and download another version without running background removal again. Keep the transparent version as a reusable asset, and save any solid-background version with a different name, such as product-transparent.png and product-white.png.
After downloading, repeat the colored-background test with the actual file. This catches a wrong export setting before the image reaches a slide, website, or client handoff.
Try three real files side by side
For this guide, we processed the same example in the live tool and downloaded two PNGs, both 1,448 × 1,086 pixels. We inspected their transparency data: the transparent export contains transparent pixels; the white-background export is completely opaque. A screenshot of the comparison preview is also completely opaque, including its visible checkerboard.
Save these files and import each over your colored rectangle:
-
Transparent PNG
: the color should show through around the dog. -
White-background PNG
: the white rectangle should cover the color. -
Screenshot of the preview
: the checkerboard and interface remain visible as image content.


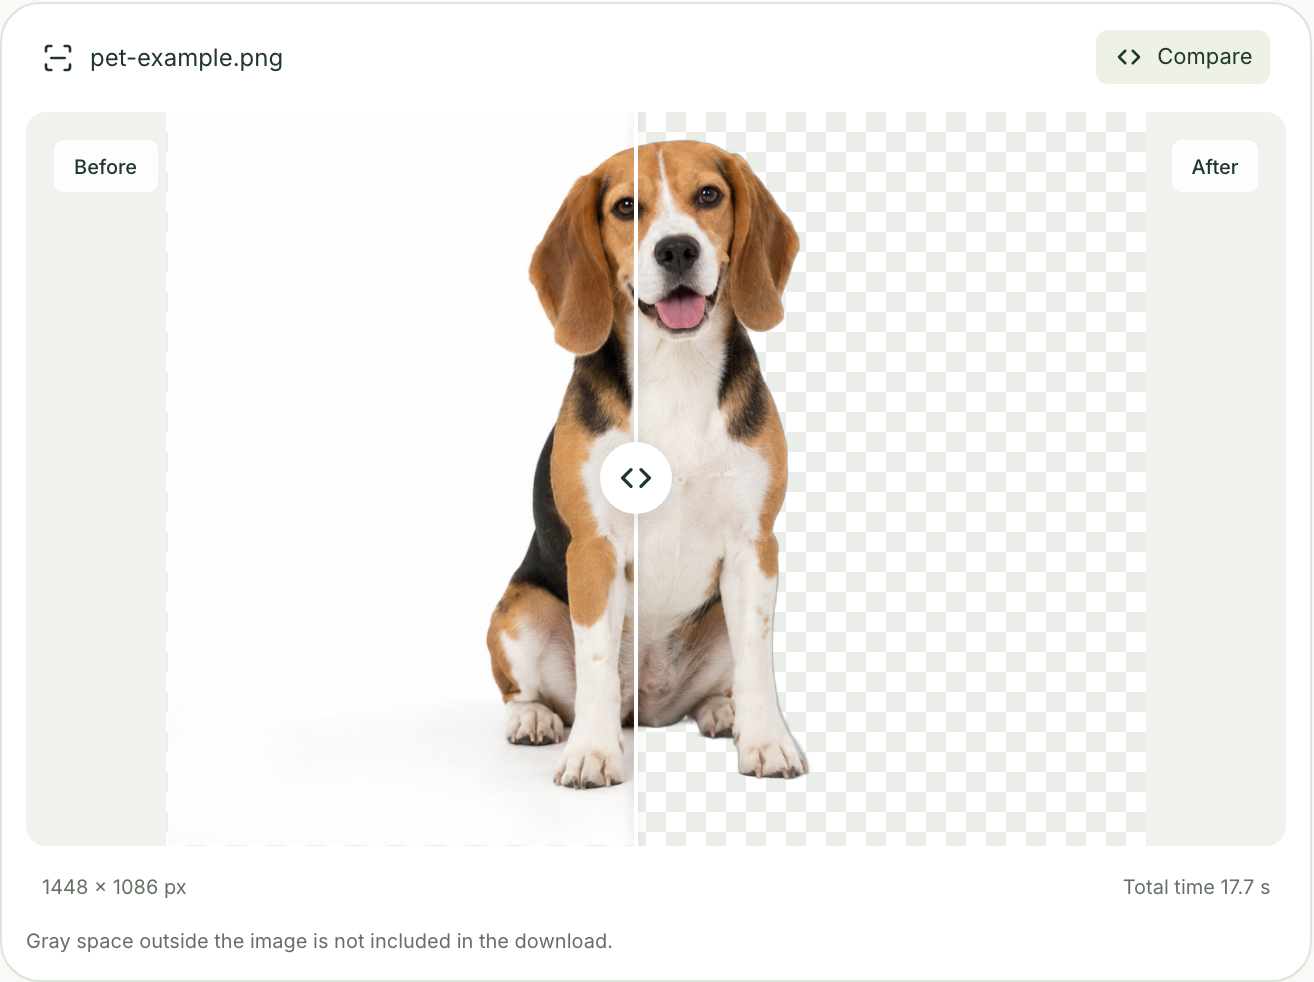
All three are PNG files. The difference is what their pixels contain, not their extension. Downloading the finished cutout and taking a screenshot of it are not interchangeable.
Transparency can be correct while the edge still needs work
A file can pass the transparency test and still have a pale halo, jagged outline, or missing detail. Those are cutout-quality problems rather than evidence that PNG transparency failed.
Inspect hair, fur, lace, and gaps around the subject on both light and dark backgrounds. Partly transparent edge pixels are not automatically defects: they can help represent fine detail and smooth transitions. Making every edge pixel completely opaque or completely transparent can make an outline look harsher.
If the old background color remains along the edge, start from a sharper source with better separation or refine the mask in an editor. If part of the subject was lost, changing the export format will not restore it. Keep the original photo so you have material to work from.
Before sharing the image:
- Open the saved file at its intended display size, rather than judging only a small preview.
- Check the output dimensions. A transparent background does not increase resolution.
- Import it into the destination layout and check the final placement.
- Send the file itself, rather than a screenshot, when the recipient needs transparency.
- If a publishing service changes the image, inspect its resulting file before concluding that your original was wrong.
Already transparent? Keep it. Fix the viewer, background layer, or export step that caused the confusion. Use background removal when the source actually needs to be separated from its surroundings.